Single-hit pressure peaks at 11.
HP18-23
Ascension HP19-24
Peak Single11
Peak Multi—
Known move titles
Killshot
Pressure tags
Setup / utility
Appears in
- Act 1 · Overgrowth · Normal · Ruby Raiders
Single-hit pressure peaks at 12. Has defensive turns that can stall the race.
HP20-22
Ascension HP21-23
Peak Single12
Peak Multi—
Known move titles
Big Swing
Appears in
- Act 1 · Overgrowth · Normal · Ruby Raiders
Single-hit pressure peaks at 7. Carries a self-scaling line.
HP30-33
Ascension HP31-34
Peak Single7
Peak Multi—
Known move titles
BeatClap
Appears in
- Act 1 · Overgrowth · Normal · Ruby Raiders
Single-hit pressure peaks at 13. Carries a self-scaling line. Can disrupt the player with debuffs or tempo loss.
HP127
Ascension HP132
Peak Single13
Peak Multi—
Known move titles
SlashesSleep
Pressure tags
ScalingDisruption
Appears in
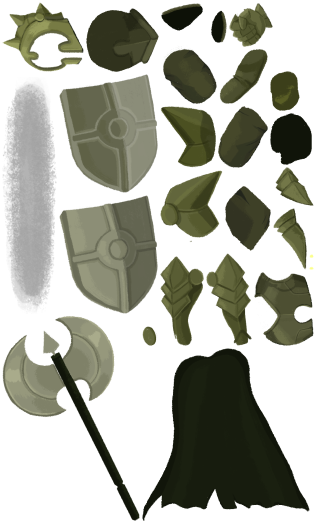
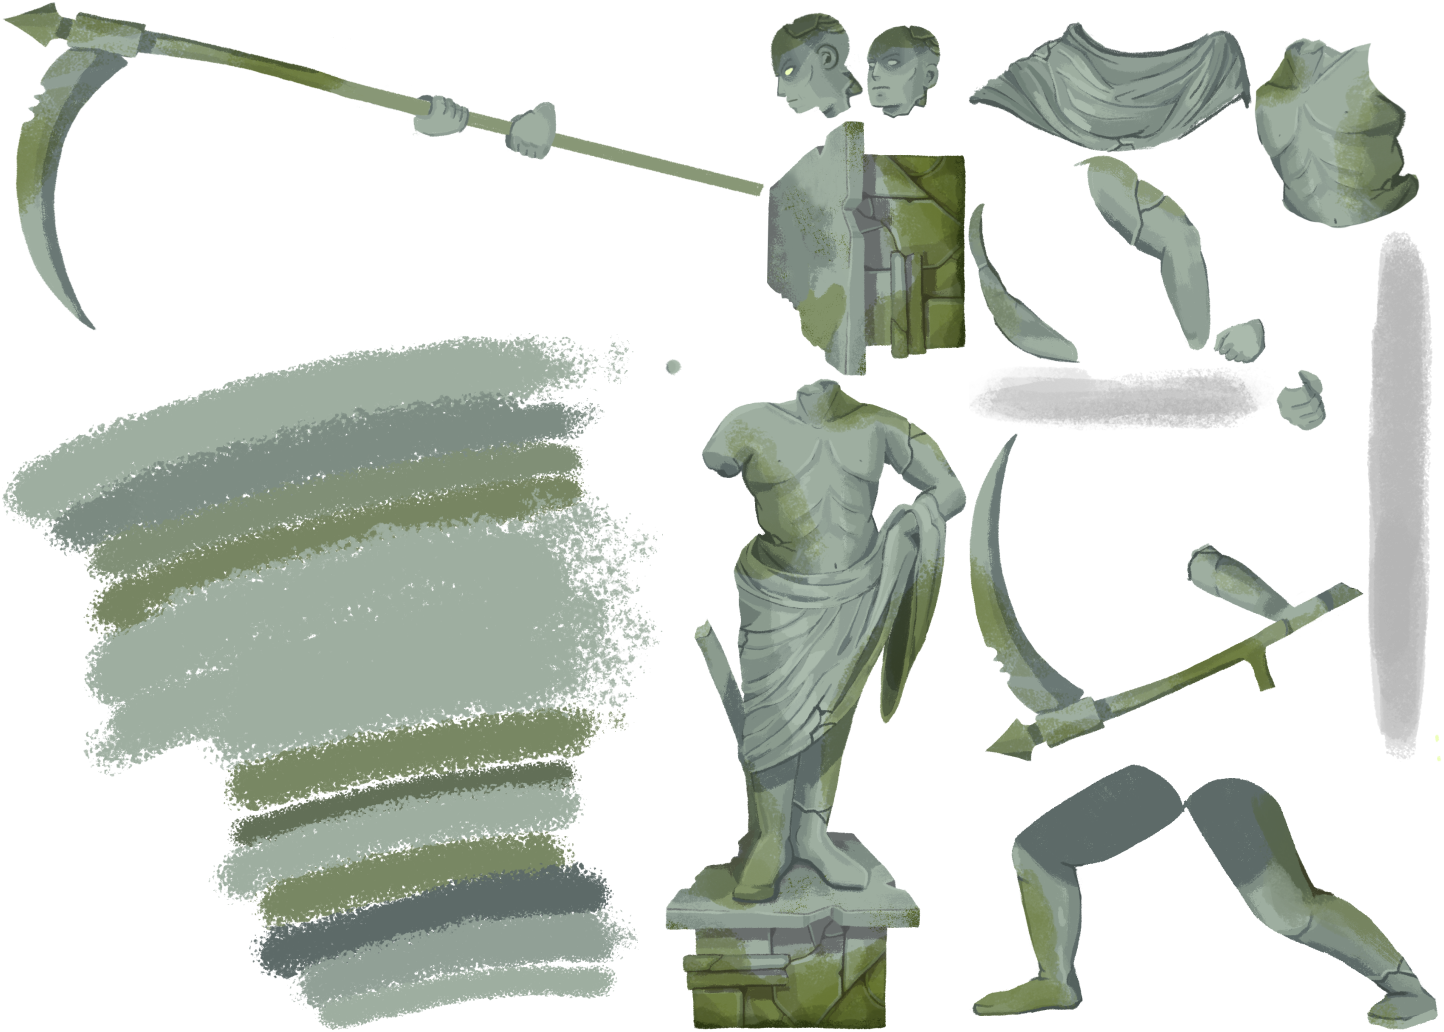
- Act 1 · Overgrowth · Normal · Bygone Effigy
Mixes single hits up to 17 with multi-hit turns up to 9.
HP81-84
Ascension HP90
Peak Single17
Peak Multi3 x 3 (9)
Known move titles
BitePeckProtect
Attack profile
3 x 3 (9)17
Appears in
- Act 1 · Overgrowth · Normal · Byrdonis
Single-hit pressure peaks at 18. Carries a self-scaling line. Can disrupt the player with debuffs or tempo loss.
HP252
Ascension HP262
Peak Single18
Peak Multi—
Known move titles
Beast CryCrushPlowStampStomp
Pressure tags
BurstScalingDisruption
Appears in
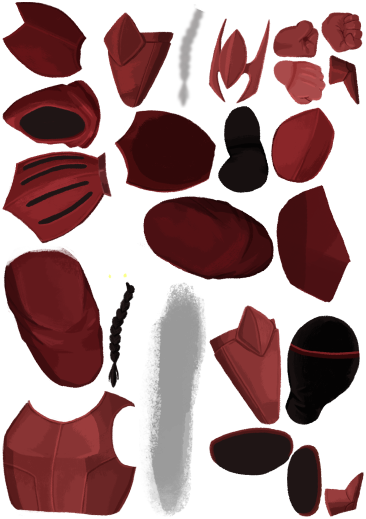
- Act 1 · Overgrowth · Normal · Ceremonial Beast
Single-hit pressure peaks at 14. Has defensive turns that can stall the race.
HP18-21
Ascension HP19-22
Peak Single14
Peak Multi—
Known move titles
Fire!Reload
Appears in
- Act 1 · Overgrowth · Normal · Ruby Raiders
Mixes single hits up to 7 with multi-hit turns up to 10. Carries a self-scaling line. Has defensive turns that can stall the race.
HP65
Ascension HP70
Peak Single7
Peak Multi5 x 2 (10)
Known move titles
Charge UpRepeater BlastSubmerge
Attack profile
775 x 2 (10)
Pressure tags
Multi-hitScalingBlock
Appears in
- Act 1 · Overgrowth · Normal · Cubex Construct
- Act 3 · Glory · Normal · Construct Menagerie
Mostly pressures through non-damage actions or setup turns. Can disrupt the player with debuffs or tempo loss.
HP6
Ascension HP6
Peak Single—
Peak Multi—
Known move titles
DistractStartle
Appears in
- Act 1 · Overgrowth · Normal · Fogmog
Single-hit pressure peaks at 11. Can disrupt the player with debuffs or tempo loss.
HP47-49
Ascension HP51-53
Peak Single11
Peak Multi—
Known move titles
Frail SporesSmashWeakening Spores
Appears in
- Act 1 · Overgrowth · Normal · Overgrowth Flora
- Act 1 · Overgrowth · Normal · Shroom and Slime
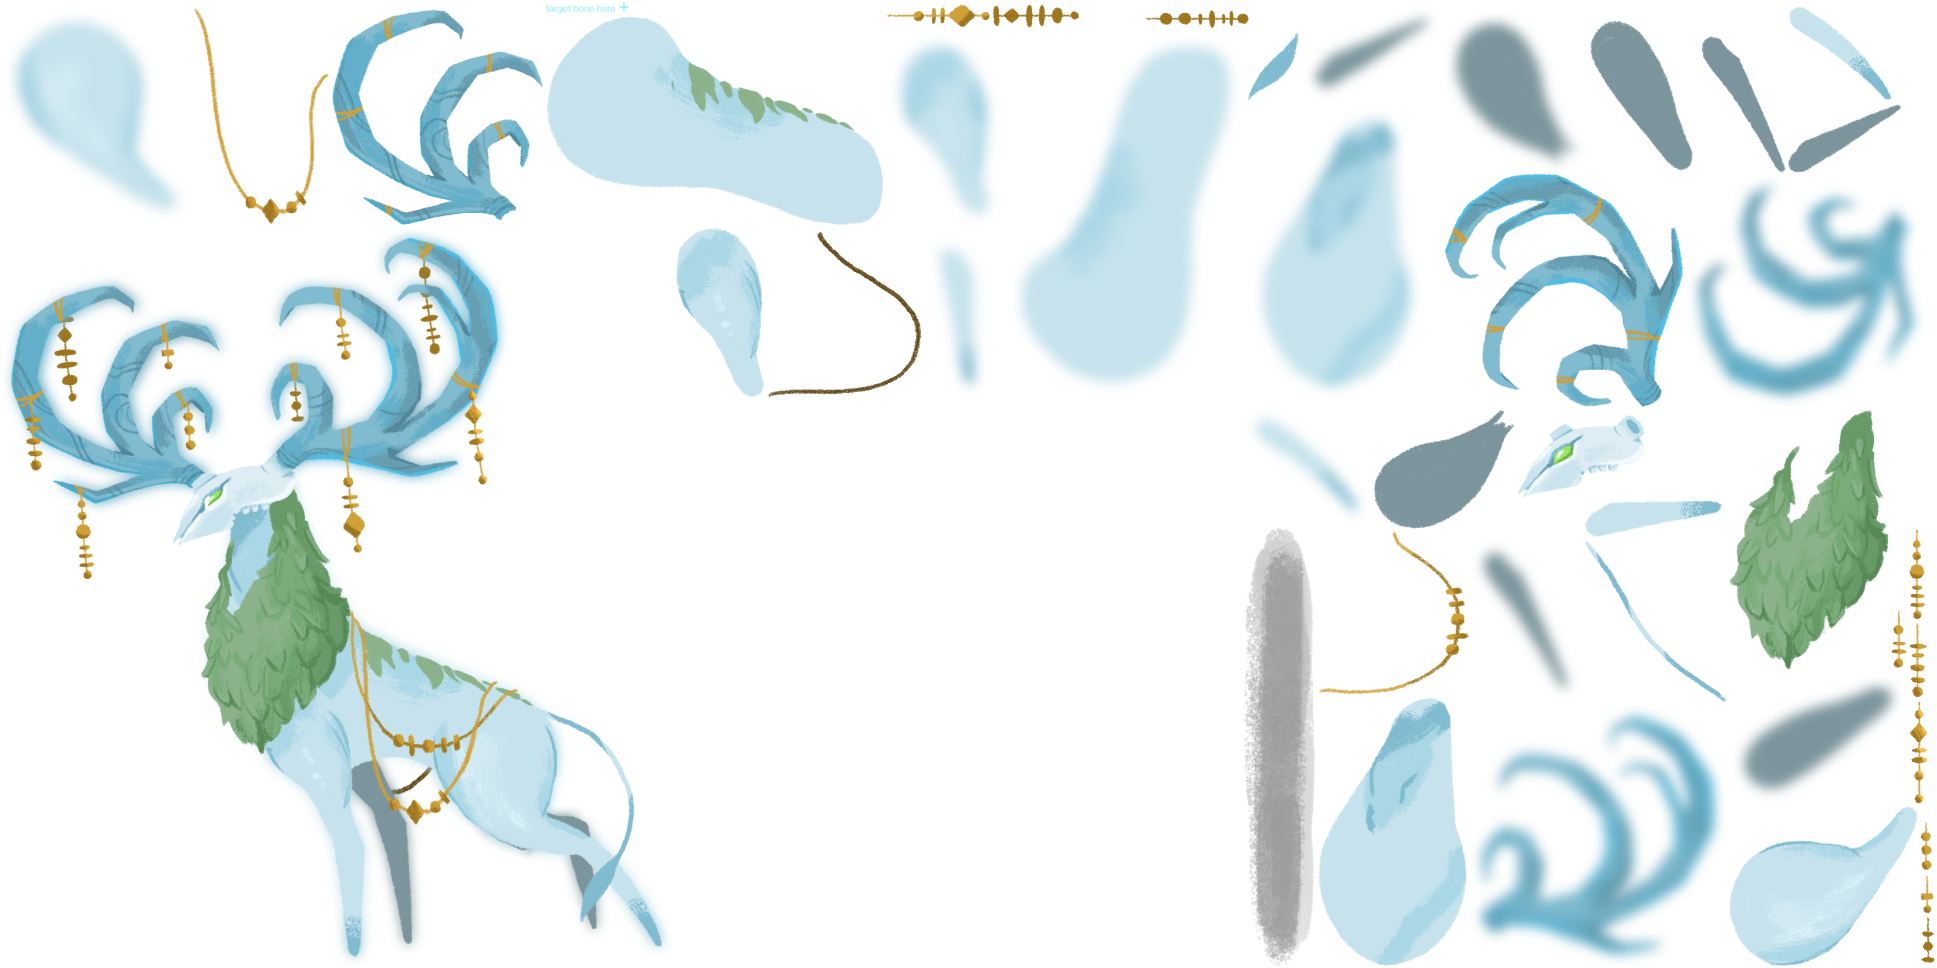
Single-hit pressure peaks at 14. Carries a self-scaling line. Can add bodies or backup to the room.
HP74
Ascension HP78
Peak Single14
Peak Multi—
Known move titles
Illusory SporesThwack
Pressure tags
ScalingSummons
Appears in
- Act 1 · Overgrowth · Normal · Fogmog
Single-hit pressure peaks at 4. Carries a self-scaling line.
HP55-57
Ascension HP58-59
Peak Single4
Peak Multi—
Known move titles
Acid GoopInhale
Appears in
- Act 1 · Overgrowth · Normal · Fuzzy Wurm Crawler
- Act 1 · Overgrowth · Normal · Overgrowth Crawlers
Mixes single hits up to 10 with multi-hit turns up to 6.
HP11-17
Ascension HP12-18
Peak Single10
Peak Multi2 x 3 (6)
Known move titles
JabPiercing GazeWindup Punch
Attack profile
32 x 3 (6)10
Appears in
- Act 1 · Overgrowth · Normal · Inklets
Mixes single hits up to 5 with multi-hit turns up to 4. Carries a self-scaling line.
HP58-59
Ascension HP62-63
Peak Single5
Peak Multi2 x 2 (4)
Known move titles
BoomerangPower DanceQuick Slash
Pressure tags
Multi-hitScaling
Appears in
- Act 1 · Overgrowth · Normal · The Kin
Mixes single hits up to 8 with multi-hit turns up to 9. Carries a self-scaling line. Can disrupt the player with debuffs or tempo loss.
HP190
Ascension HP199
Peak Single8
Peak Multi3 x 3 (9)
Known move titles
Soul BeamOrb of FrailtyOrb of WeaknessDark Ritual
Attack profile
883 x 3 (9)
Pressure tags
Multi-hitScalingDisruption
Appears in
- Act 1 · Overgrowth · Normal · The Kin
Single-hit pressure peaks at 8. Can disrupt the player with debuffs or tempo loss.
HP32-35
Ascension HP33-36
Peak Single8
Peak Multi—
Known move titles
Clump ShotSticky Shot
Appears in
- Act 1 · Overgrowth · Normal · Group of Slimes
- Act 1 · Overgrowth · Normal · Shroom and Slime
- Act 1 · Overgrowth · Normal · Strangler and Friend
- Act 1 · Overgrowth · Normal · Swarm of Slimes
Single-hit pressure peaks at 3. Can disrupt the player with debuffs or tempo loss.
HP11-15
Ascension HP12-16
Peak Single3
Peak Multi—
Known move titles
GoopTackle
Appears in
- Act 1 · Overgrowth · Normal · Group of Slimes
- Act 1 · Overgrowth · Normal · Strangler and Friend
- Act 1 · Overgrowth · Normal · Swarm of Slimes
Mixes single hits up to 14 with multi-hit turns up to 8. Can disrupt the player with debuffs or tempo loss.
HP72
Ascension HP76
Peak Single14
Peak Multi4 x 2 (8)
Known move titles
ClawRip and TearRoar
Attack profile
144 x 2 (8)
Pressure tags
Multi-hitDisruption
Appears in
- Act 1 · Overgrowth · Normal · Mawler
Single-hit pressure peaks at 12. Carries a self-scaling line. Has defensive turns that can stall the race.
HP42-46
Ascension HP44-48
Peak Single12
Peak Multi—
Known move titles
ButtHesitant SliceHiss
Pressure tags
ScalingBlock
Appears in
- Act 1 · Overgrowth · Normal · A Lone Nibbit
- Act 1 · Overgrowth · Normal · A Pair of Nibbits
Leans on multi-hit turns up to 16. Can disrupt the player with debuffs or tempo loss.
HP61-64
Ascension HP66-68
Peak Single—
Peak Multi4 x 4 (16)
Known move titles
InfectLashLeap Slam
Pressure tags
Multi-hitDisruption
Appears in
- Act 1 · Overgrowth · Normal · Phrog Parasite
Single-hit pressure peaks at 13. Can disrupt the player with debuffs or tempo loss.
HP38-40
Ascension HP40-42
Peak Single13
Peak Multi—
Known move titles
ChompShrinkerStomp
Appears in
- Act 1 · Overgrowth · Normal · Overgrowth Crawlers
- Act 1 · Overgrowth · Normal · Shrinker Beetle
Single-hit pressure peaks at 12. Can disrupt the player with debuffs or tempo loss. Has defensive turns that can stall the race.
HP53-55
Ascension HP54-56
Peak Single12
Peak Multi—
Known move titles
ConstrictLashThwack
Pressure tags
DisruptionBlock
Appears in
- Act 1 · Overgrowth · Normal · Strangler and Friend
Single-hit pressure peaks at 3. Carries a self-scaling line.
HP31-33
Ascension HP34-36
Peak Single3
Peak Multi—
Known move titles
Collect PowerEnergy Orb
Appears in
- Act 1 · Overgrowth · Normal · Overgrowth Flora
- Act 1 · Overgrowth · Normal · Strangler and Friend
Leans on multi-hit turns up to 8. Can disrupt the player with debuffs or tempo loss.
HP21-25
Ascension HP22-26
Peak Single—
Peak Multi1 x 8 (8)
Known move titles
Unleash the HoundsTrack
Pressure tags
Multi-hitDisruption
Appears in
- Act 1 · Overgrowth · Normal · Ruby Raiders